How to Buy a Domain and Host a Website with Hostinger
So, you’re ready to take your online presence to the next level? Whether you’re starting a blog, launching a business website, or building an online community, the first steps are always the same: secure a domain name and find a reliable hosting provider. In this post, we’ll walk you through the process, with a special focus on using Hostinger, a popular and affordable option.
1. Choose a Domain Name
Your domain name is your website’s address on the internet. It’s how people will find you, so choose wisely! Here are a few tips:
- Keep it short and memorable: Shorter domain names are easier to type and recall.
- Use relevant keywords: If possible, include words related to your website’s content or purpose.
- Choose the right extension: .com is the most popular, but .net, .org, or country-specific extensions (.in, .uk, etc.) are also options.
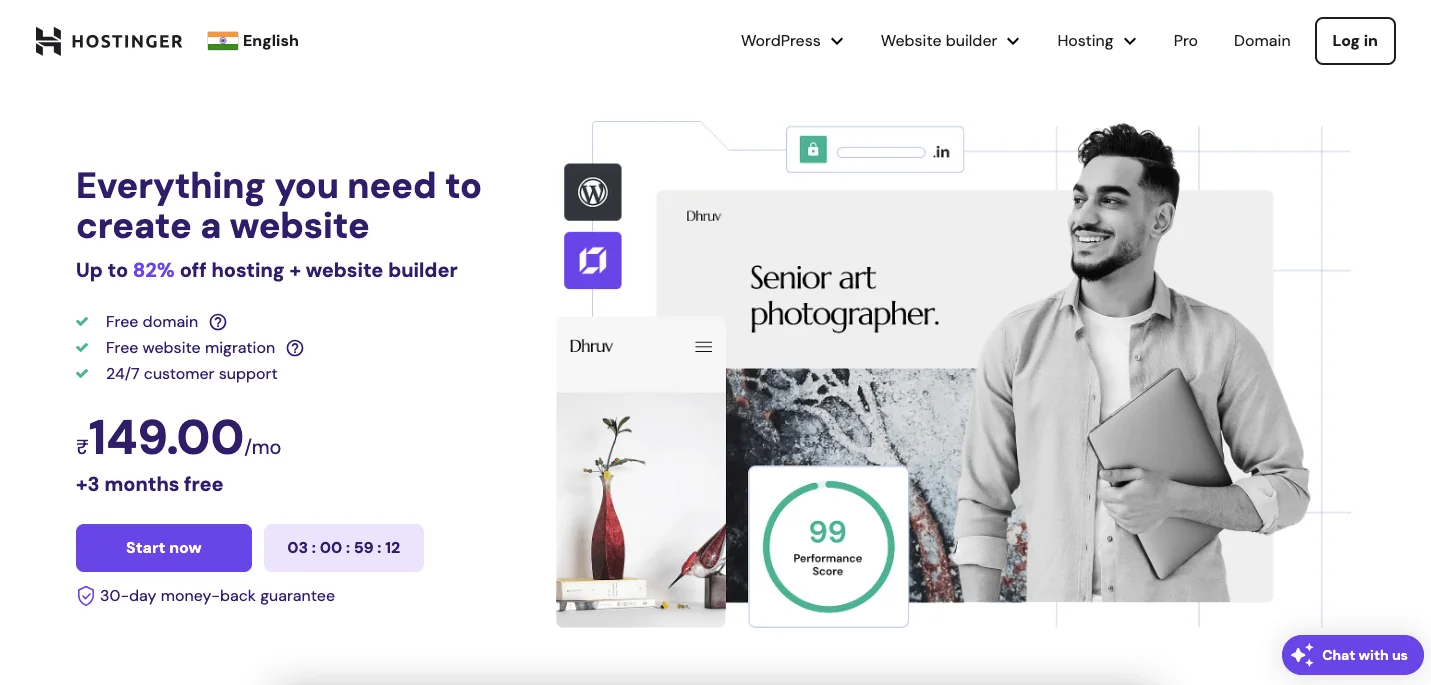
- Check for availability: Use Hostinger’s domain checker tool to see if your desired name is available.
2. Register Your Domain with Hostinger
Once you’ve found the perfect domain, it’s time to make it official. Hostinger makes this process simple:
- Visit Hostinger’s website: Go to Hostinger.com.
- Search for your domain: Enter your desired domain name in the search bar.
- Add to cart and checkout: If available, add the domain to your cart and proceed to checkout.
- Create an account: You’ll need to create a Hostinger account to complete the purchase.
- Make the payment: Choose your preferred payment method and finalize the transaction.
3. Choose a Hosting Plan
Now that you have a domain, you need a place to store your website’s files. That’s where web hosting comes in. Hostinger offers a variety of plans to suit different needs and budgets:
- Shared hosting: A cost-effective option for small websites with moderate traffic.
- Cloud hosting: Offers more resources and scalability for growing websites.
- VPS hosting: Provides dedicated resources and greater control for advanced users.
4. Sign Up for a Hostinger Hosting Plan
- Browse Hostinger’s plans: Compare the features and pricing of each plan.
- Select a plan: Choose the one that best fits your needs and budget.
- Complete the signup process: Provide the necessary information and create your hosting account.
- Link your domain: Connect your registered domain name to your hosting account.
5. Build Your Website
With your domain and hosting in place, you’re ready to create your website! Hostinger offers several tools to help you:
- Website builder: A drag-and-drop interface for creating websites without coding knowledge.
- WordPress: A popular content management system (CMS) for building and managing websites.
- Other CMS options: Hostinger supports various other CMS platforms.
Special Offer for You!
Ready to get started with Hostinger? Use my referral link to get a 20% discount on your web hosting plan:
https://hostinger.in?REFERRALCODE=4OCCCHINMN1Q
Conclusion
Buying a domain and hosting a website might seem daunting at first, but with Hostinger’s user-friendly platform and affordable plans, it’s easier than you think. Follow these steps, and you’ll be well on your way to establishing your online presence!